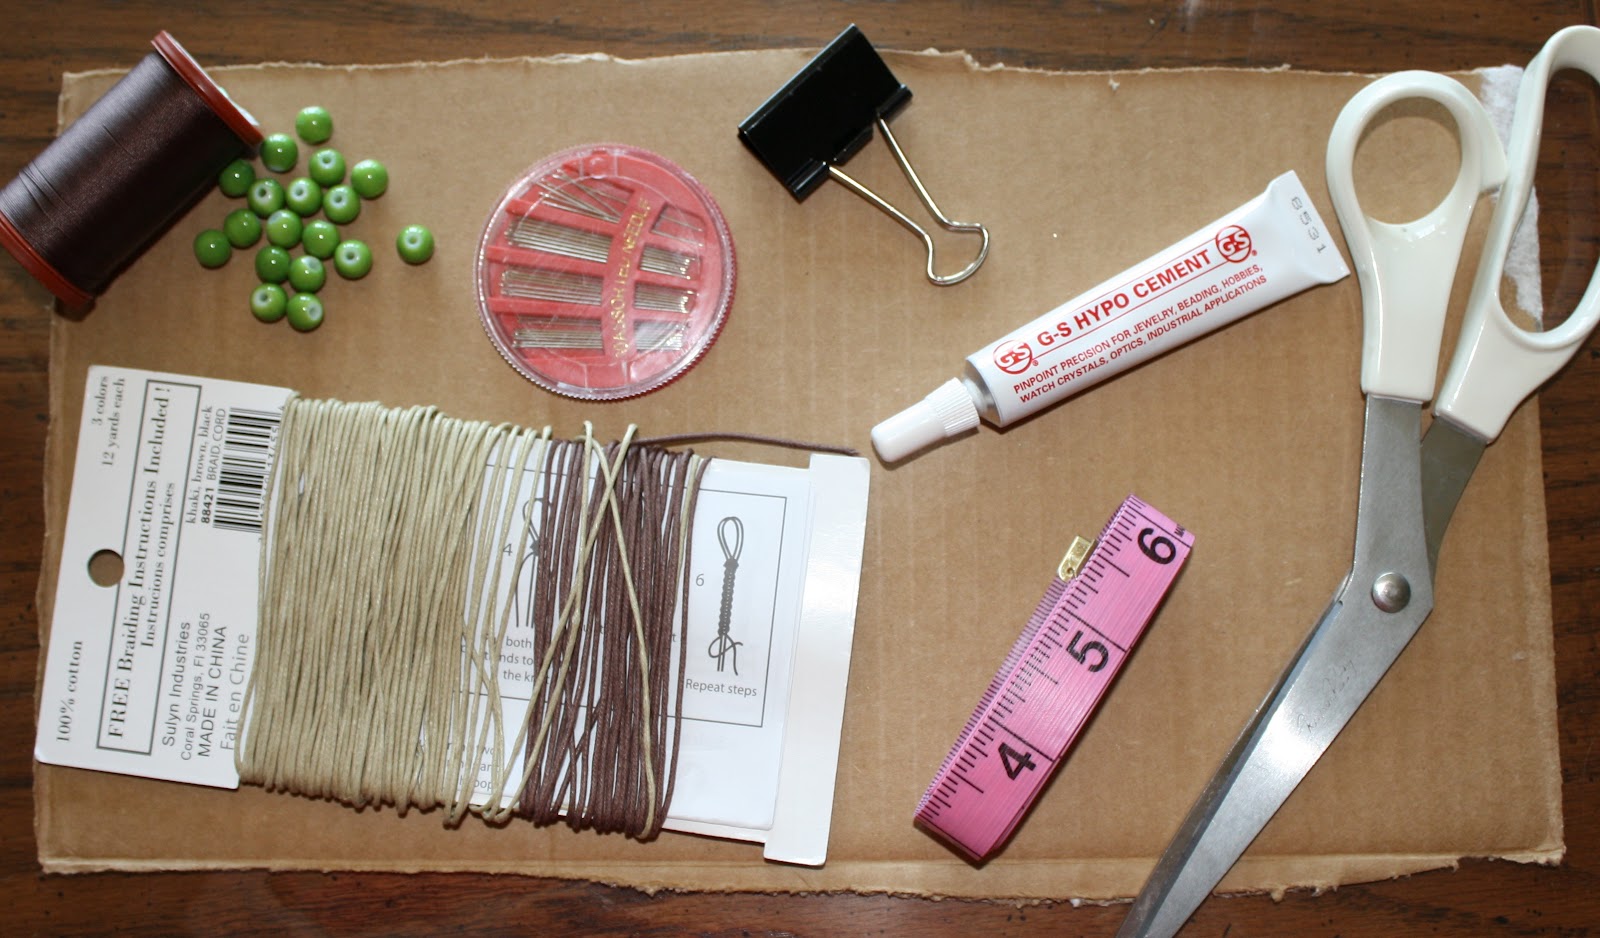
*14-20 Beads
*Cording
*Heavy Duty Thread
*G-S Hypo Cement (glue)
*Needle
*Scissors
*Measuring Tape
*2 Binder Clips (optional)
*Cardboard (optional)
Step 1: Measure wrist. Multiply that number by 4 and cut that many
inches of the cording.

Step 2: Cut about 2 yards of
thread. Thread your needle and match up
the two ends. Tie a knot.

Step 3: Match the cording ends
up. Using the other end, place the
thread on it and make a very small loop, no larger than a pea.

Step 4: Using the G-S Hypo Cement, carefully glue the
thread knot as well as the cording knot to help keep secure. You will probably want to wait about 5
minutes to let the glue dry a bit. Make
sure to put the lid immediately back on the glue.

Step 5: Using binder clips, secure cording to
cardboard, making sure to not secure the thread. Have the cording make a “V”
shape.

Step 6: We are now going to
create a looping effect with our thread.
This step is optional. If you do
not want to do this, please skip to step 9.
This will also help secure the thread a bit more. Begin by having the thread come up from the
center. Then take your needle and go
under the left cording coming up through the center. Pull the thread taut.

Step 7: Continue to loop, but
this time go under the right side coming up through the center.

Step 8: Continue looping on both sides for 4-6
loops. Then secure with glue.

Step 9: With the thread
coming up through the center of the cording, place a bead between the two
cordings. Take your needle and go under
the left cording and through the bead.
Pull thread taut.

Step 10: Continuing with the same bead, take your
needle under the right side of the cording and through the bead. Pull the
thread taut.

Step 11: It should look something like this. Continue steps 9 and 10 until you have enough
beads (about 1 inch less than your wrist measurement).

Step 12: When you have put all your beads on, use your needle and tie a knot to secure the final bead.

Step 13: Using steps 6-8, begin
the looping process that was done prior to putting the beads on.

Step 14: Finish looping by
taking the needle through the center of the looping making sure the needle is
hidden in the center of the looping and did not come out the backside. Cut
thread.

Step 15: Begin tying the ends of the cording into
knots.

Step 16: Continue knotting until the knot is large
enough that it will go through the other end of the cording’s loop, but not
easily come undone.

Step 17: Glue knot of thread and knot of cording to
secure them. Cut excess cording off.


Notes:
--Using glass beads may be a problem. Some of the beads are sharp inside and tend to cut the thread.
--Using leather cording will make it long lasting. You can use cotton or hemp. The hemp will wear down after time.
Love it!
ReplyDelete